Tuesday, 13 September 2016

Fun With Inks - Creating Backgrounds

Hello,

Blogging after quite a long time to share these cards.

I have created three backgrounds using three different techniques. The cards are versatile and can be used for any occasion.


I have used the Ink smooching technique to add distress ink to my background.  I used 6 shades of distress inks - Wilted Violet, Broken China, Peeled Paint,Wild Honey, Barn Door and Pickled Rasberry.


To heat emboss the flowers and leaves, I ave used the Beautiful Day stamp from Altenew.  This is one of my favorite set from Altenew.

To do the sentiment, I used the HELLO chipboard, and added UTEE Black. Aside from word dies, I have stamped the sentiment from the same set and foam mounted the longer strip and adhered the shorter one directly onto the background.

Added a few sequins to complete the card.


To create this card, I used the Floral Flourishes stamp from Justrite. Firstly, I have stamped using versamark and embossed using White embossing powder. I have then inked using using various shades of Green - Shabby Shutters, Peeled Painted, Crushed Olive. 


To do the sentiment , I have Die cut the Thanks in black and silver glitter and adhered the silver glitter offsetting the black. Finally, added blings to finish the card.


I used to think that ink blended galaxy backgrounds are so hard to make but I'm glad I gave it a try  - and I'm loving the result and the process. 

I have distressed using Broken china, Shabby Shutters, Wild honey, Wilted Violet, Pickled Rasberry , Brushed Coudroy and Black soot until I got the effect I was looking for, Then, splatter water and dab it off with a paper towel . Also splatter white acrylic finish off.


Hope you liked the cards.
Thank you for stopping by!

Challenges Entered


Wednesday, 27 July 2016

Heartfelt Creations - Shoe Cards

Hello,

Today, I m happy to share a few cards I made using HFC Shoe die and stamp set. Been wanting to make them since long & finally got to make them.


Stamp Set - HFC Vintage Floret
The flowers are stamped and embossed using Gold Embossing powder on a Red card stock and Fussy cut, Shaped and layered onto the cards.


Stamp set - HFC Sun Kissed Fleur
The flowers here are stamped and embossed on a vellum and colored using distress markers. Then, assembled them onto the cards with a few leaves.

Just love the grandeur and glitteriness of the cards!! Makes perfect gifts for weddings !!


 Hope you liked them too.

Thank you for stopping by.

Friday, 22 July 2016

Stacked Book of Drawers

Hello Peeps,

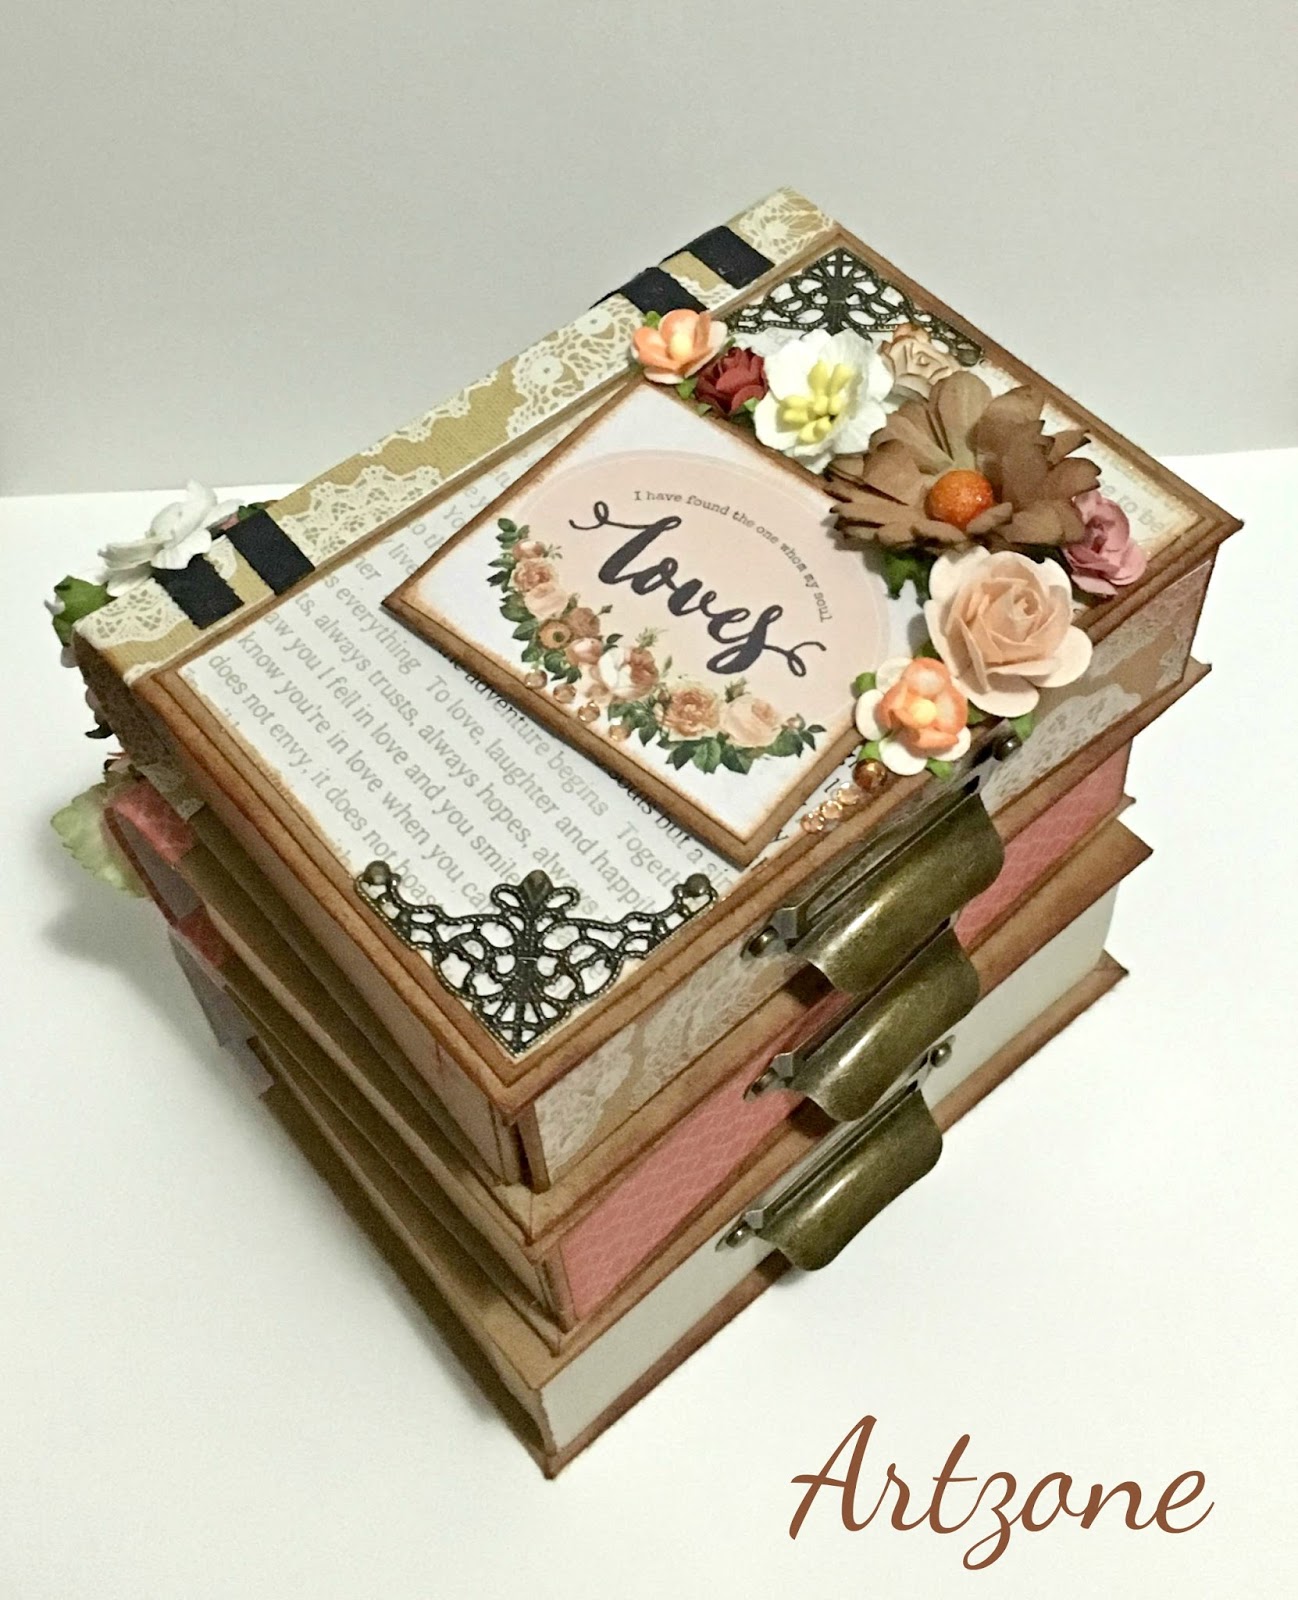
Today, I am sharing yet another version of the stacked book of drawers. This one is more detailed and lot more sturdier .. Just loved putting together this project and hope you will like it too            :)

Here we go with the pics :


The drawers are constructed from scratch using chipboard/boxboard. For this one, I have used the Kaisercraft - Always & Forever Paper collection .The collection is so versatile and can be used in any theme.


The embellishing is my most favorite part and love playing with the flowers and its arrangements. The flowers are from Wild orchid crafts. I have also added a few charms for additional interest.


These can be used tiny lil memoirs or any of your crafty treasures.

Thank you for stopping by.

                                                             Challenges Entered:
                                             papericious-july-challenge-moodboard
                                             modsquadchallenge-get-krafty


Wednesday, 13 July 2016

Fun with Inks - Dahlias

Hello,

Today I am showcasing cards made from the Penny Black stamp set - Dahlias. I have about three cards to share and with each one I have used a different techniques.


Here's a closer look at the cards :

Card 1 :


1. Stamp the images using Archival ink - jet black. Colour them using inks of your choice. I have
   used distress inks - Mustard seed, Wild honey, Aged mahagony, Salty ocean.

2. Paint the background using diluted pickled Rasberry adding shadows beneath the flowers.

3. Using the same ink , splatter it on the card panel for an added interest.

4. Stamp a sentiment of your choice.

5. Adhere the panel to the card base.

Card 2 :


1. Prepare your watercolour paper using the antistatic pad and heat emboss the image in White
    embossing powder,

2. Randomly color the images using inks of your choice and dab off the excess with a paper towel.
    Give two or more coats until you are satisfied with the colour. I have used DI - Festive berries,
    wilted violet and Pickled Rasberry.

3. Die cut a sentiment and color them using black markers and adhere them onto the panel.

4. Finish it off by adding some sequins and adhere the card to the base.

Card 3 :


1. Take an iris cardstock and sponge them using Spun sugar to create the base.

2. Take a little dark shade and stamp the Big Flower onto the corners.

3. Randomnly stamp the smaller one in Red overlapping the bigger one.

4. Finally, heat emboss the sentiment in White and adhere it to the card.


I hope you liked the cards. Do leave me some comments and suggestions.

Thank you so much for stopping by


Sunday, 19 June 2016

Stacked Book Drawers

Hello Everyone,

Today, I'm sharing the new project Stacked Book Drawers inspired by Alexandra.

I'm very pleased with the way everything turned out and I hope you will like it too. The process of creating this is totally fun and as always embellishing is sooo relaxing and the part I love the most.

I have used the 6 x 6 paper pad called Cottage Rose from Kaisercraft. Each of the 3 books is created from scratch using chipboard.

This can be used to store Memoirs , Lil Souvenirs, Gift Cards, Mini Scrapbooks, etc.

Here are the pictures :


Hope you liked it. Thanks for stopping by.

                                                               Challenges Entered 

Tuesday, 24 May 2016

Baby Onesie Album

Hello Peeps,

Very happy to be sharing one of my close to heart Project - Baby Onesie album made for my niece - Princess Zara..

The album is a collection of photos and moments from Day 1 till 2 years.


The album is loaded with embellishments - Flowers, twines, ribbons, Diecuts !!
The pattern papers used are from Authentique -  and a lot of flowers from Kaisercraft.

The album measures 7 x 5 inches in size and has a lot of interactive photo mats and journaling spaces.

Here is a detailed video of the album:
(This is my first ever video.. Excuse me for all the silly mistakes!)


Few more close up pics on the detailing :


I had a wonderful time creating album. Hope you all liked it too.

Thank you for stopping by!!

                                                             Challenges Entered:
                         http://lulupu.blogspot.com.au/2016/05/challenge-61-mini-albums.html